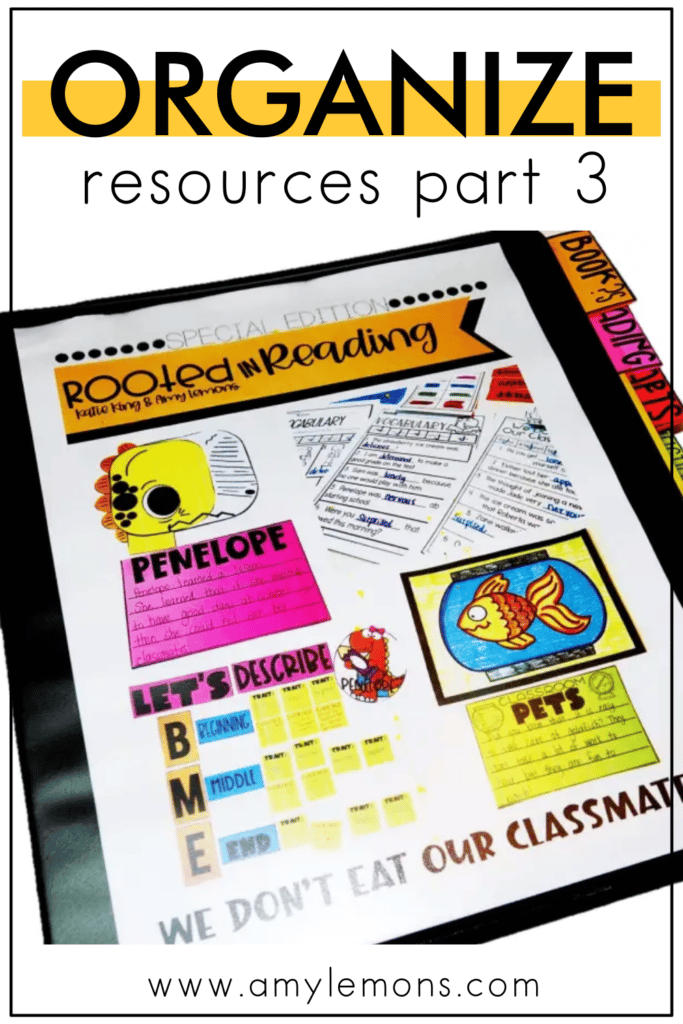
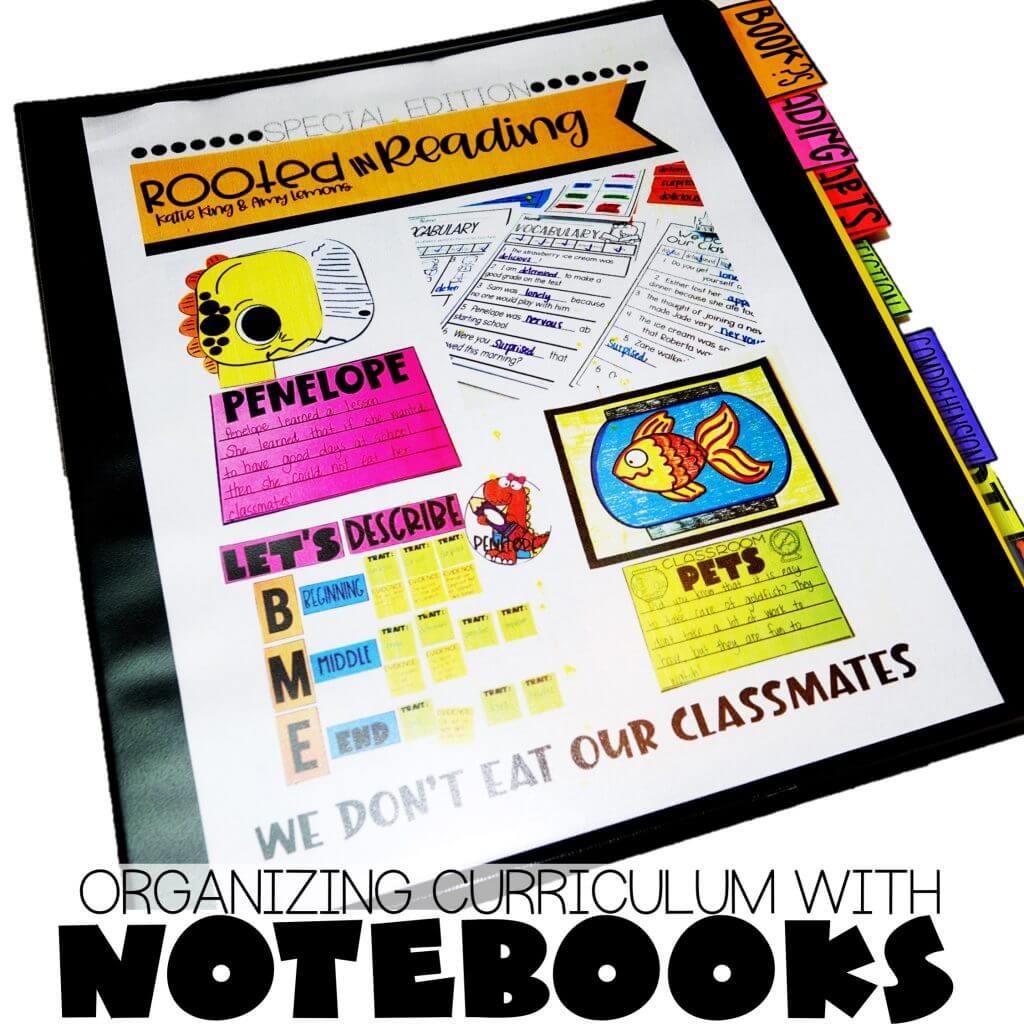
I’m back with some organizational tips for your teaching resources! A couple of weeks ago I tackled organizing curriculum into tubs. You can read all about that HERE. BUT, I know that some of you just love notebooks. So, I wanted to give that option a go as well. Here’s what I came up with…
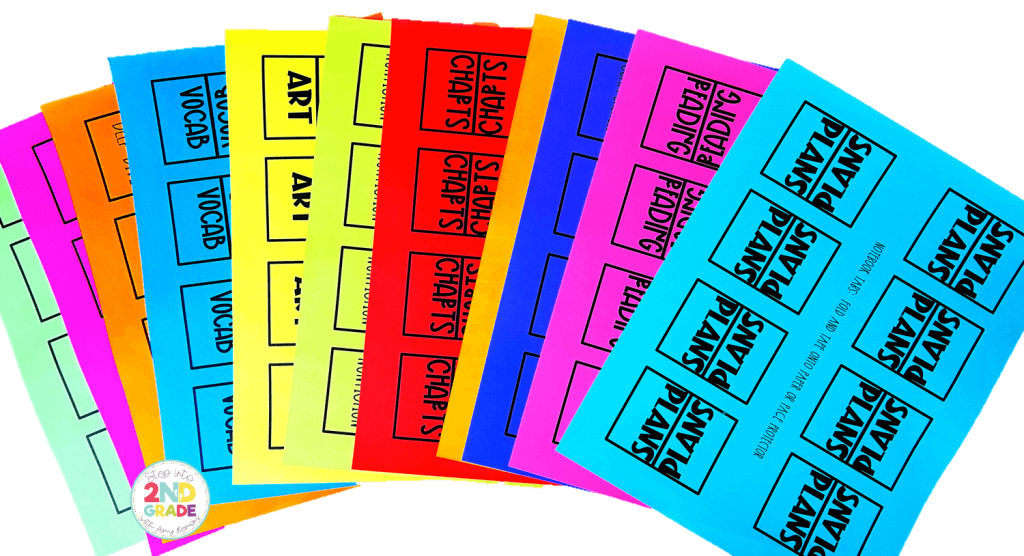
I created notebook tabs that would be useful when organizing reading curriculum. There are many options to choose from, but here are the ones that I chose to print. They may even hold up a little better if you printed on card-stock or laminated after printing.
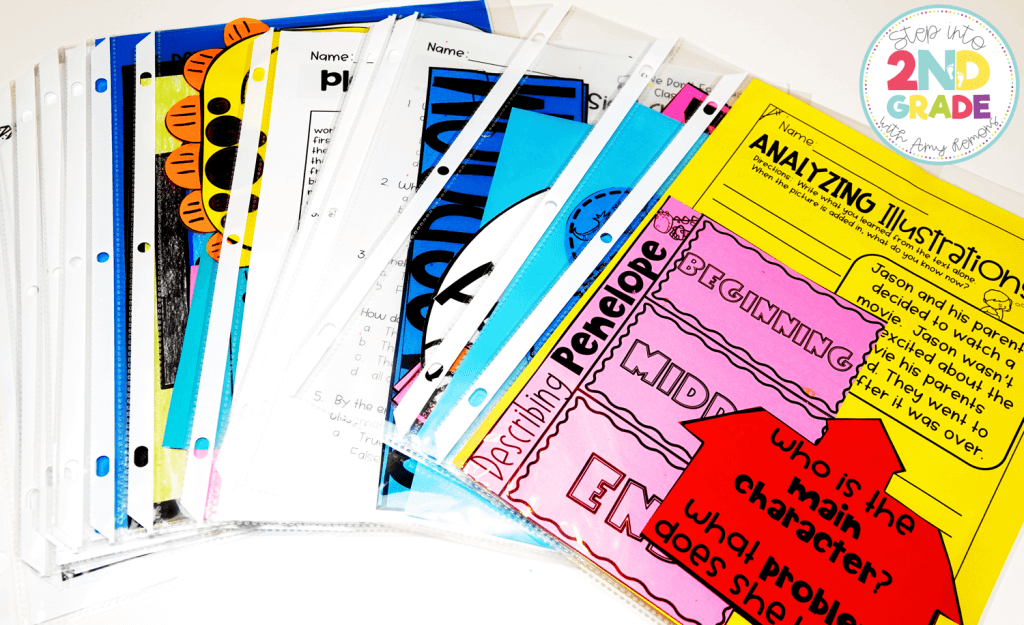
After I decided which tabs I wanted, I organized all of my materials into plastic sleeves. This isn’t necessary, but I found it helpful for those smaller pieces that don’t hole punch well. It also helps keep all of my materials nice and clean without any holes. I’ll show you more of what is in each plastic sleeve in just a bit.
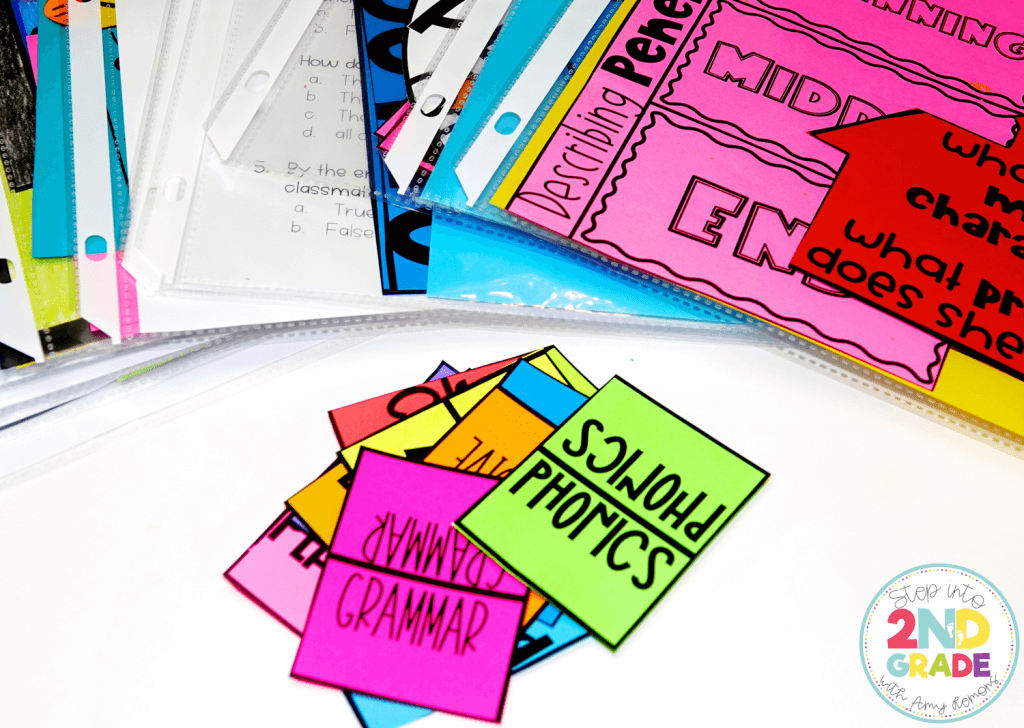
I cut out the tabs that I was going to use. I didn’t end up using the phonics or plans tabs, but I wanted you to be able to see how many options there are! You can leave the tabs as one piece so that they can be folded over the plastic sleeve. That helps you see the tab from the front or back of the notebook.
I did not lay my tabs out perfectly, but I did try to stagger them a bit. I folded the tab over the plastic sleeve. I secured the tabs with tape on both sides. Please note: my tabs stick out quite a bit so that I can show you an example. However, if they were pushed up against a bookshelf they would bend. You might want to decide how you are going to store the notebooks and how much room you will have.
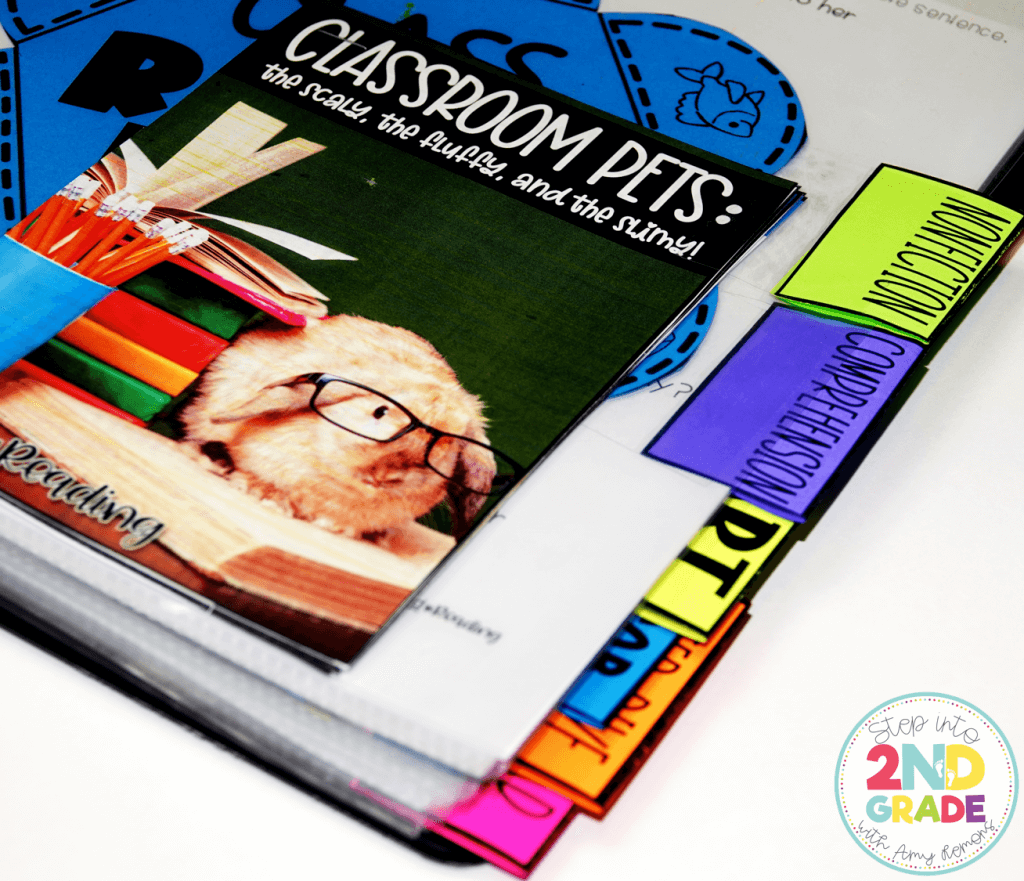
You certainly don’t have to use the tabs that I did or put that many on. I also created days of the week tabs and weekly tabs if that’s more your jam.
Now let’s take a look at what is inside the plastic sleeves. This can be done is so many ways, but this is what works for me. I put several things in one sleeve. You can see here how I have all of my student comprehension entries in one plastic sleeve.
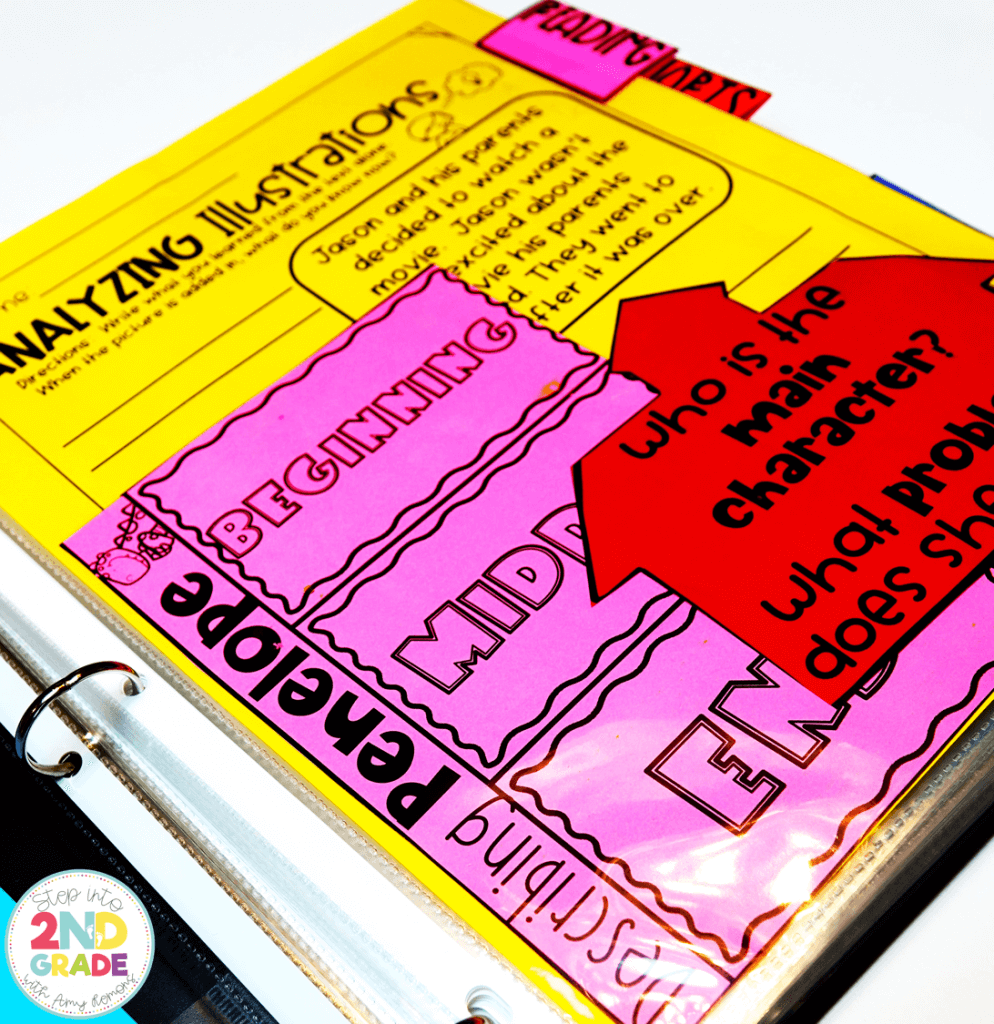
Here you can see how I used both sides of the plastic sleeves. I like having things facing outwards so that I can easily see what is inside.
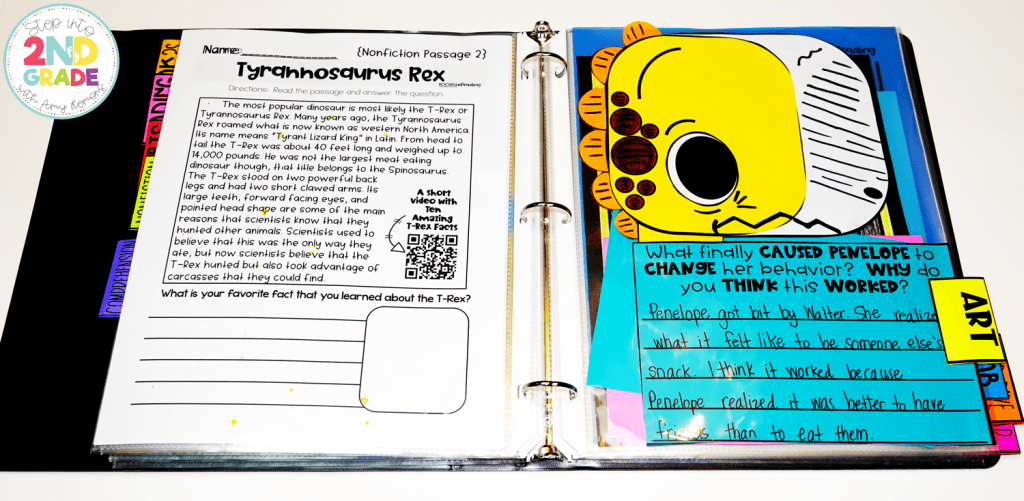
I keep all of the examples that I create because that’s just part of me creating the units. You could also store the master copies in the notebook instead.
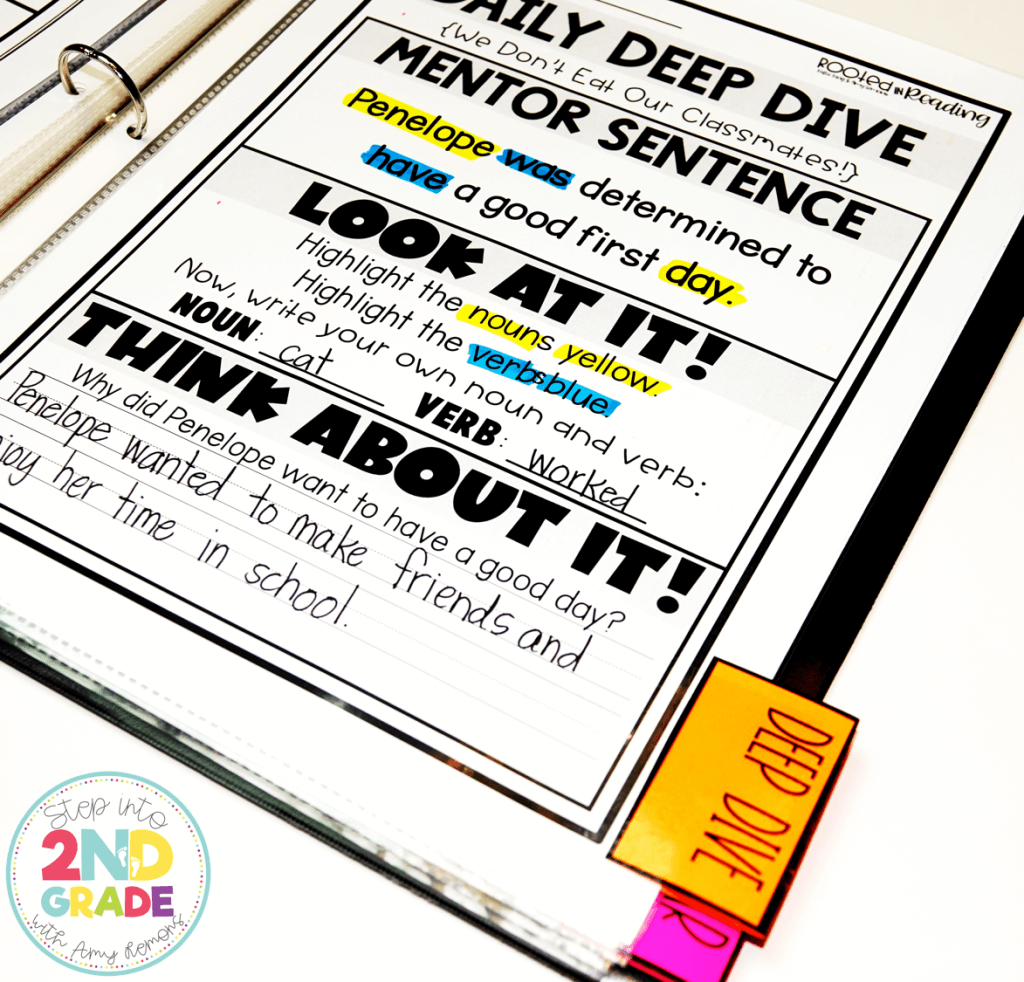
I used small envelopes for anything that is cut into cards. This allows me to keep that all contained so that it doesn’t fall out. I just slid the envelope into a plastic sleeve.
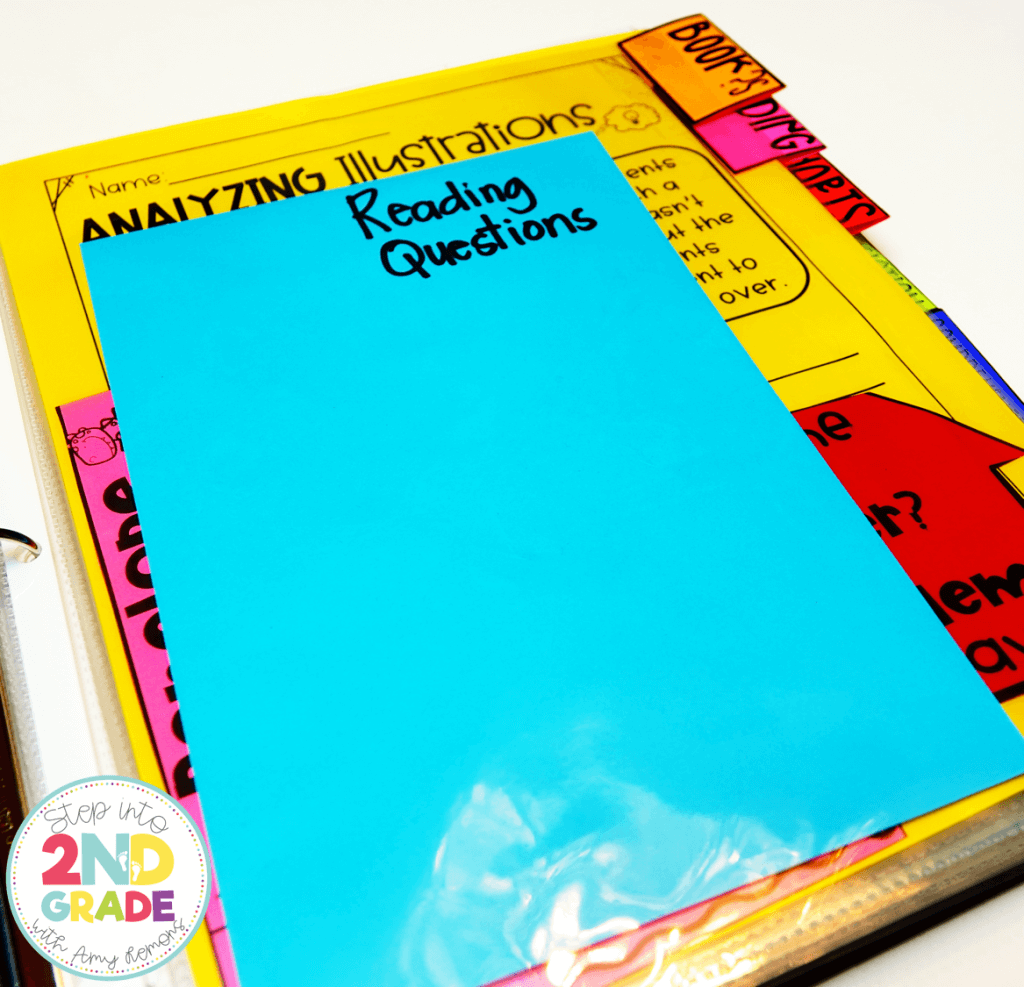
I think you just have to decide what works best for you. I always ask myself these questions:
It’s also important to remember, what works for someone else may not work for you. You may need a completely different system… and that’s okay too! I just like to show different ways to organize so that if teachers are looking for tips, they have a place to reference.
I often get asked, what size notebook should I use? Well, that really depends on WHAT you are putting IN the notebook. Are you saving everything? Are you putting one week in a notebook? Are you using plastic sleeves? I would make ONE notebook and see what size you need. Then you can make sure this is something that you actually want to do and you can purchase the materials accordingly.
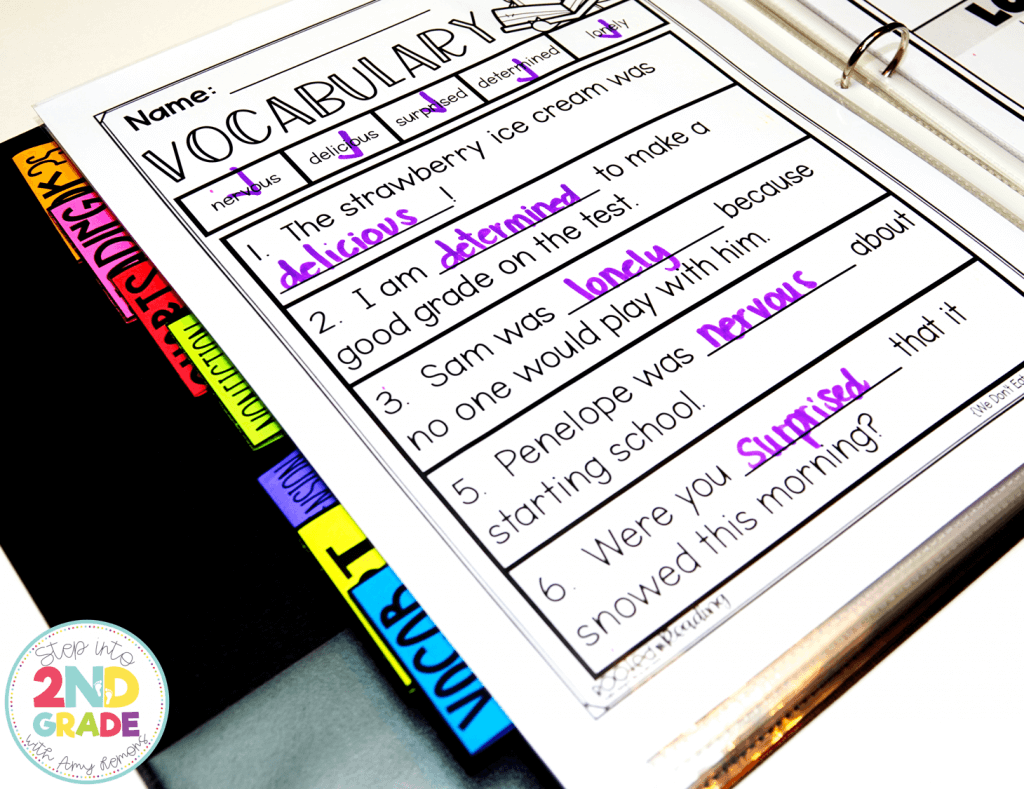
You may be asking… what unit did you organize? It is a BRAND NEW reading unit that Katie and I just released. It is the perfect book for Back to School or really anytime of the year. AND, we created it so that it can work with grades 1-3. There are differentiated passages, activities, anchor charts, grammar focuses, etc. Click on the picture below to check out We Don’t Eat Our Classmates.
Click HERE to check out the book on Amazon!
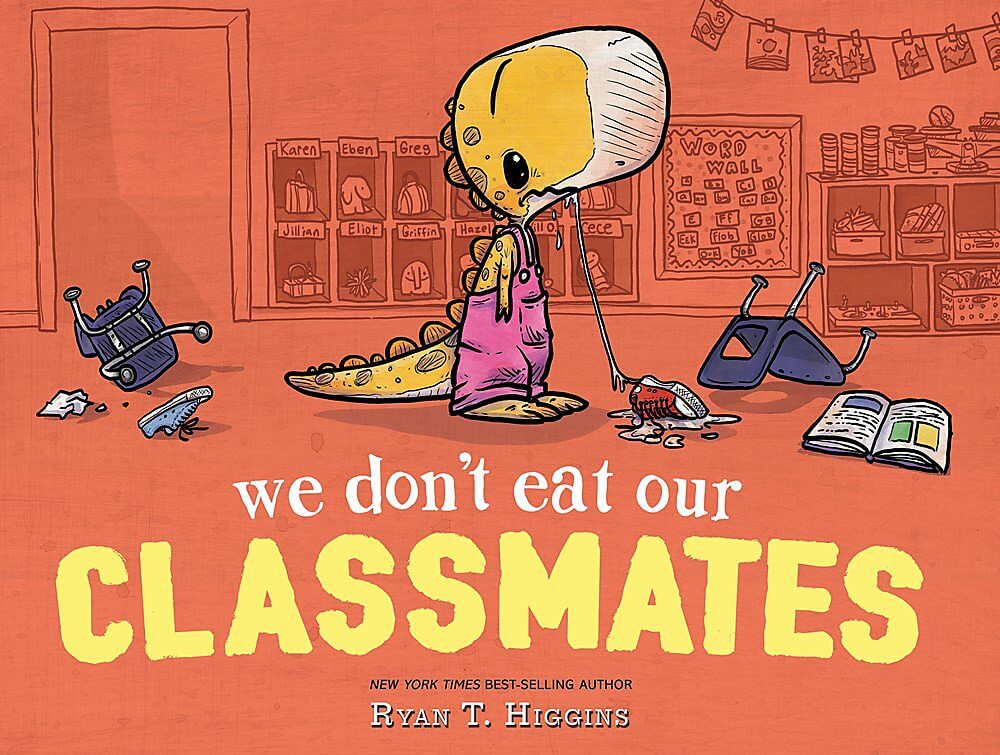

I have put all of the tabs into one document so that you can organize right alongside of me! I have several different notebook tabs included in the download. If you are on my email list, this is already in your inbox!

Hey, y’all! My name is Amy Lemons and I am passionate about providing students with both engaging and effective standards-based Math and ELA lessons.
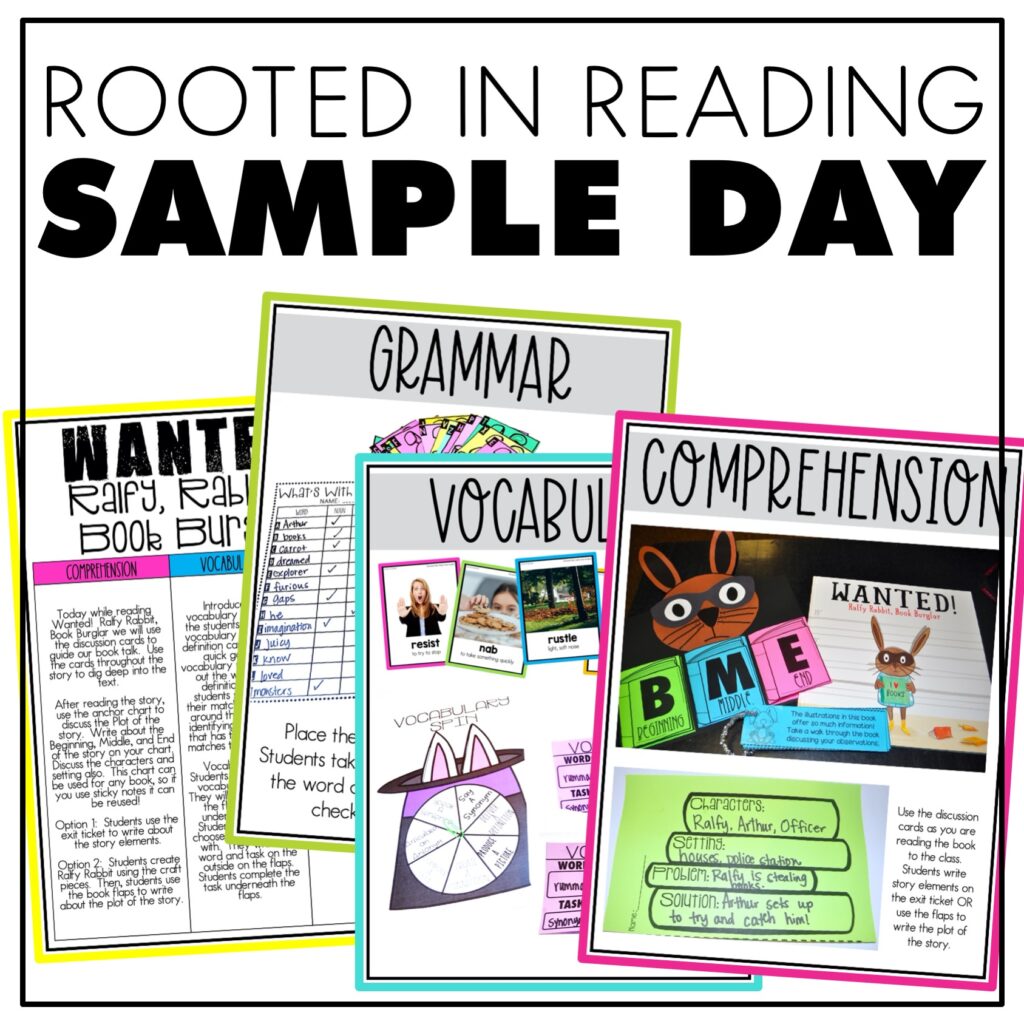
Sample a day of Rooted in Reading with these lesson plans and activities for Reading Comprehension, Vocabulary, and Grammar!

5 Responses
I was curious how you plan to use the deep dive tab?
It is for the Deep Dive component of our units.
I love that you created these tabs! Last year I used your Rooted in Reading units for 2nd grade for the first time. I’ve always liked notebooks because I can grab & if I need to (because let’s face it, it inevitably makes it way into my bag to go home). I put everything into sleeves but other than that there’s no organization to it. I can’t wait to get these printed to add to my notebooks next year! Thanks!!